
iOS 26 Guide: 10 iPhone Settings You Should Check After Updating
Just updated to iOS 26? Discover 10 iPhone settings you should check to improve battery life, performance, and daily use after installing the update.
2/25/202611 min read
iOS 26 introduces a fresh new look to the iPhone and it comes with a great design change: Liquid Glass. This design is bringing more depth, transparency, and subtle motion across the whole system. Honestly it looks great, but this also means your iPhone is doing a bit more behind the scenes than before.
Especially when it comes to battery life and battery health, two things I really care about in daily use. New iPhones always start with battery health at 100% and I would like to keep it like that as long as possible. I know that small settings can make a big difference, but Apple doesn’t always point them out.
In this article, I’ll walk you through 10 iPhone settings I recommend checking after installing iOS 26 + the best iOS 26 visual settings, so your iPhone not only looks good, but also feels smooth.
Are you ready for it? Let start with number one.
1
Battery Health
To optimize your Battery Health settings in iOS 26 it's important to set a Charge Limit for your Battery. You can do that by navigating to Settings → Battery → Charging.
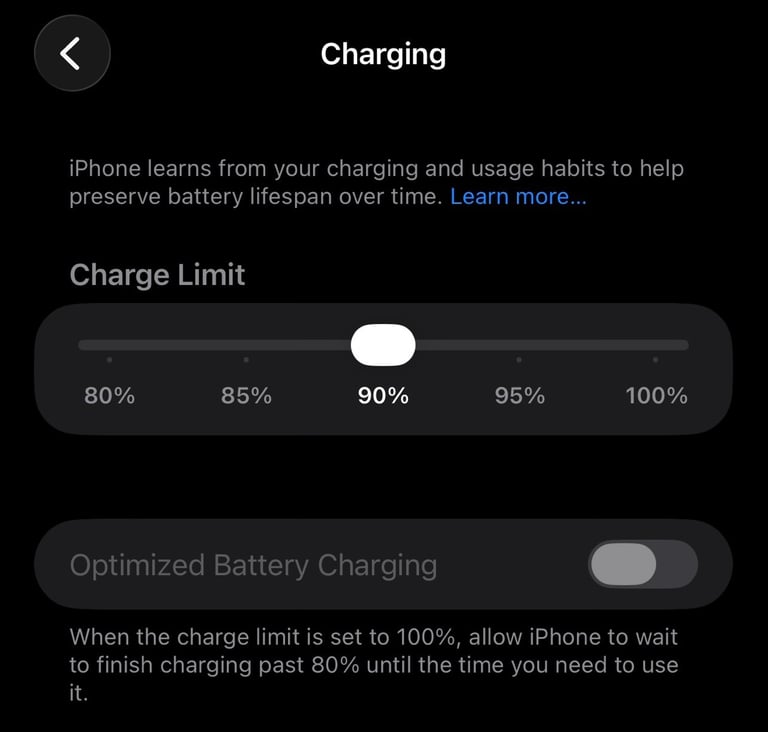
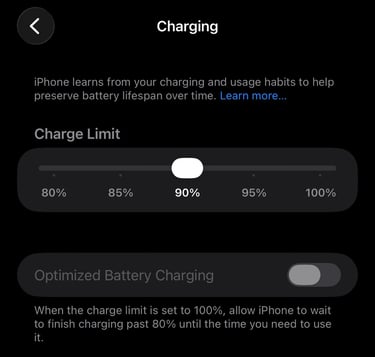
In this menu, you can set a charge limit between 80% and 100%. For example, if you set it to 90%, your iPhone will stop charging once it reaches that level. Charge Limit helps reduce long periods of full charging, which can slow down battery wear over time and help keep your battery healthier for longer.
For me and most people, 90% is the sweet spot. It still gives you enough battery to easily get through the day, while avoiding the extra strain that comes with charging all the way to 100%. By stopping at 90%, your iPhone spends less time fully charged, which helps protect battery health over time without affecting daily use.
Keep in mind that even if you set a charge limit like 90%, your iPhone may still occasionally charge all the way to 100%. This is normal. Apple does this to calibrate the battery, helping the system better understand its condition and keep battery readings accurate. Nothing to worry about. Your charge limit will still be most of the time stop at your prefered setting.
Tip: If you have an iPhone 15 Pro or newer there is a new setting in iOS 26 called Adaptive Power. You can find this setting by going into Settings → Battery → Power Mode.
If you toggle on Adaptive Power Mode on it makes small, automatic adjustments in the background to help your iPhone use less power. When it’s on, your iPhone may slightly reduce performance when needed so your battery lasts longer throughout the day. I’ve written a blog post covering this and other simple tips to help your iPhone battery last longer.
2
Set up your Lock Screen with Liquid Glass
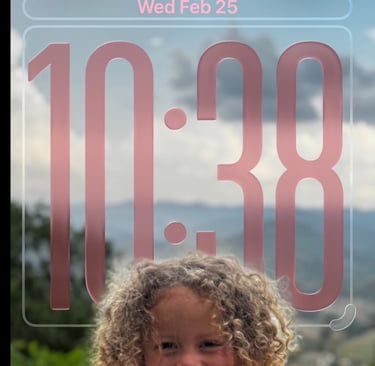
iOS 26 introduces new Lock Screen features with Apple’s Liquid Glass design. You can customize these by going to Settings → Wallpaper and tapping Customize. An alternative way to check is to hold your finger on the Lock Screen for 2-3 seconds and then select Customize.

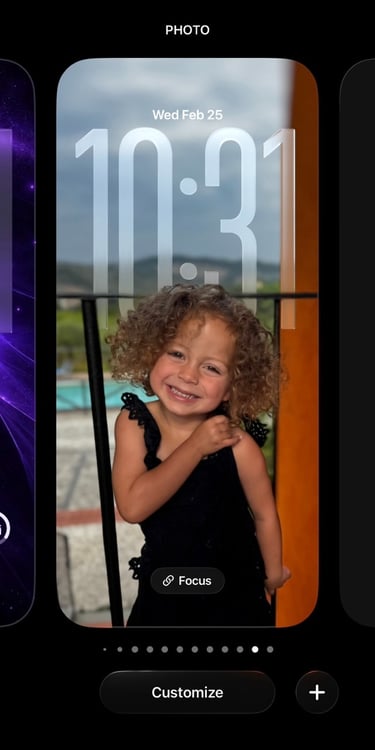
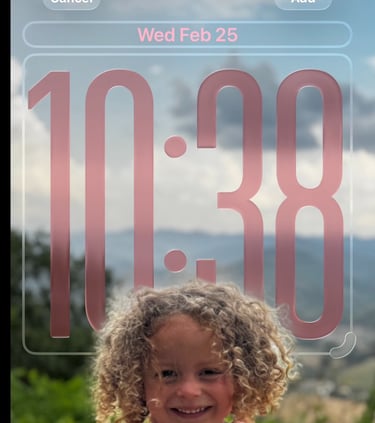
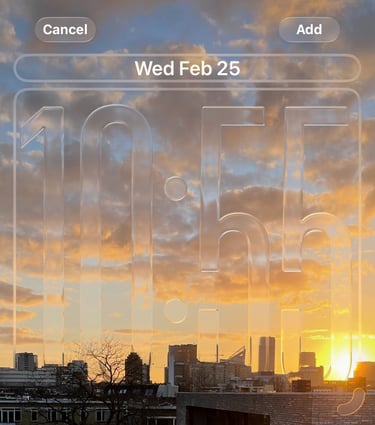
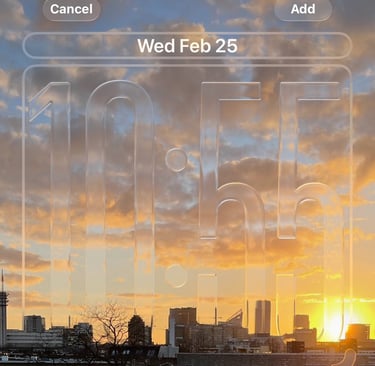
One of the Lock Screen elements you can now customize with the Liquid Glass effect is the clock. When you tap on the clock, you’ll see two sliders. The first slider adjusts the color effect. If you’re using a photo, the clock color will automatically adapt to the colors in that image. The second slider controls the Liquid Glass effect itself, letting you choose how strong the glass-like look appears on the clock.
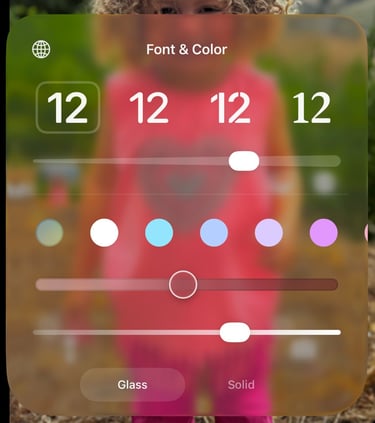
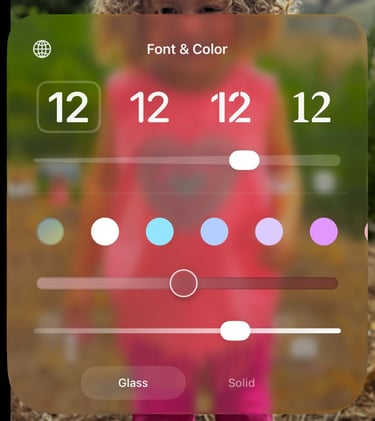
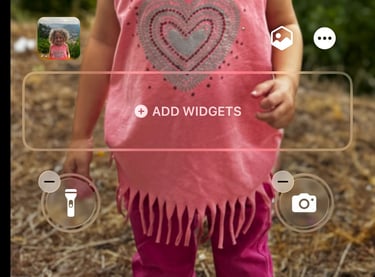
Widgets on your Lock Screen
With iOS 26, you can now place widgets at the bottom of your Lock Screen, instead of only below the clock. You can also customize the color of your widgets to match your style. Just tap the large clock on the Lock Screen and adjust the color or clock style. The widgets will update automatically. Tip: The large clock is only available with the first font option. If you choose a different clock font, the clock will automatically appear smaller.

3
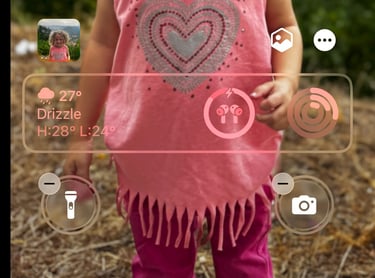
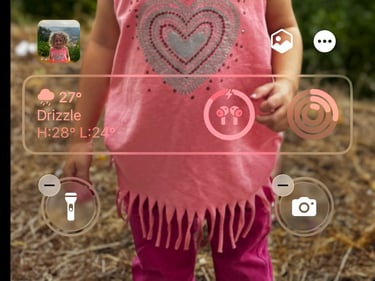
Spatial Scenes Wallpapers
Spatial Wallpapers in iOS 26 add a subtle depth effect to your Lock Screen. When you move your iPhone, the wallpaper gently shifts, creating a more immersive, 3D-like look without being distracting.
To use Spatial Wallpapers, you need an iPhone with a LiDAR scanner, such as iPhone Pro models. This includes devices like the iPhone 12 Pro and newer Pro models, where the hardware can create the depth effect properly.
To enable Spatial Wallpapers go to Settings → Wallpaper and tapping Add New Wallpapers. Scroll down to you see Spatial Scenes and select a Wallpaper.
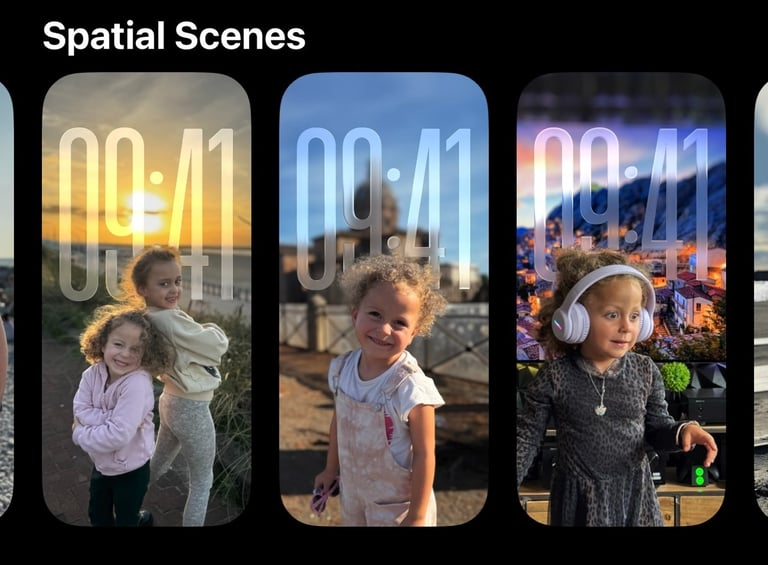

If you select on the the Spatial Scenes you see the effect that looks like this
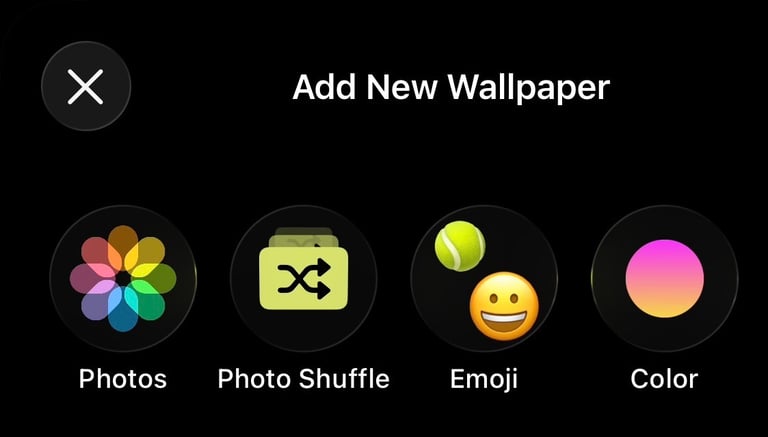
If you don’t see a Spatial Scene you like, you can upload your own photo and turn it into a Spatial Wallpaper. Just choose an image you like, and iOS will apply the spatial effect automatically. You do this by going to Settings → Wallpaper and tapping Add New Wallpapers. Tap Photos at the top to open your Photo Library. From the top bar, you can switch between All, Featured, Live Photos, and more. To see all your photos, simply select All.


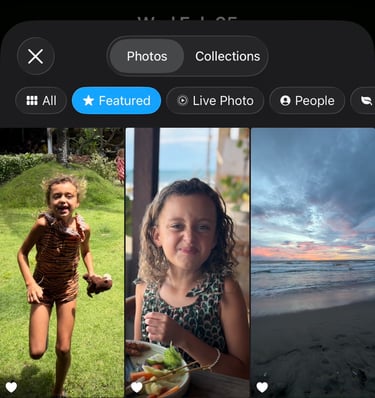
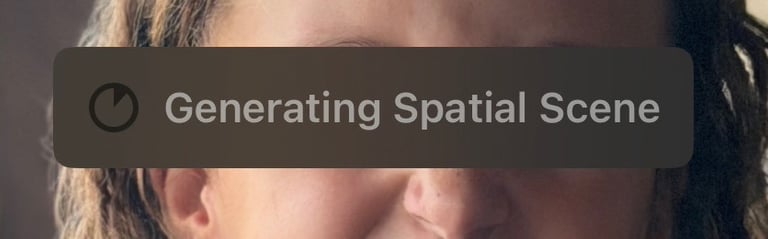
Select the photo you want to use for a Spatial Scene wallpaper, then tap the icon on the left. iOS 26 will automatically create the Spatial Scene for you. Once it’s ready, you’ll see the depth effect applied on your Lock Screen.


4
Home Screen with Liquid Glass
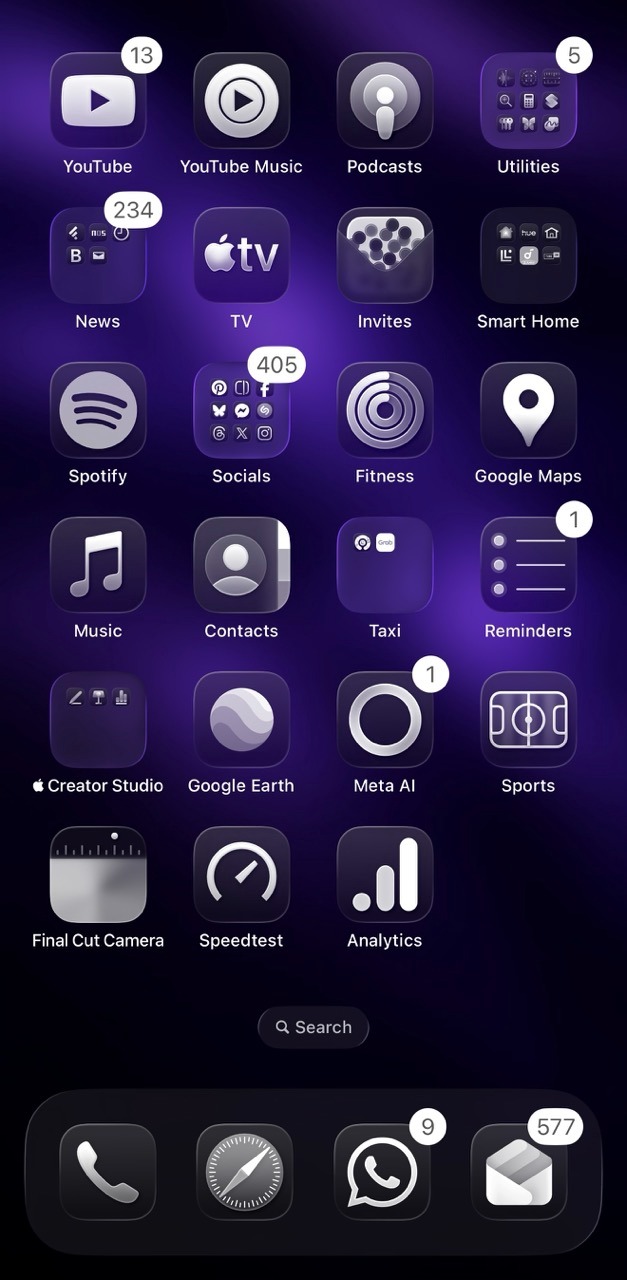
We’ve already looked at how you can customize the Lock Screen with Liquid Glass effects, but iOS 26 doesn’t stop there. You can now bring that same look to your Home Screen with the new Clear Liquid Glass icons. When I first tried this, it instantly changed the feel of my Home Screen.
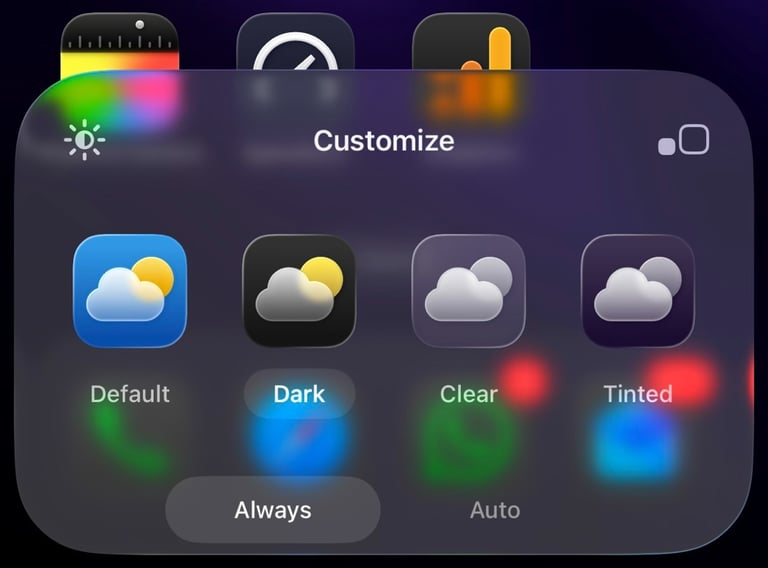
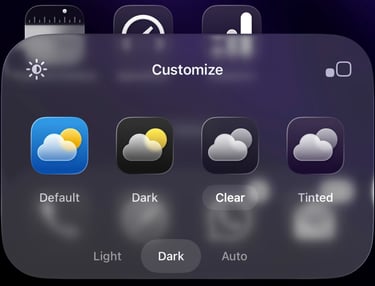
When you select Clear, you can choose between Light, Dark, or Auto to control how bright or dark the icons appear.

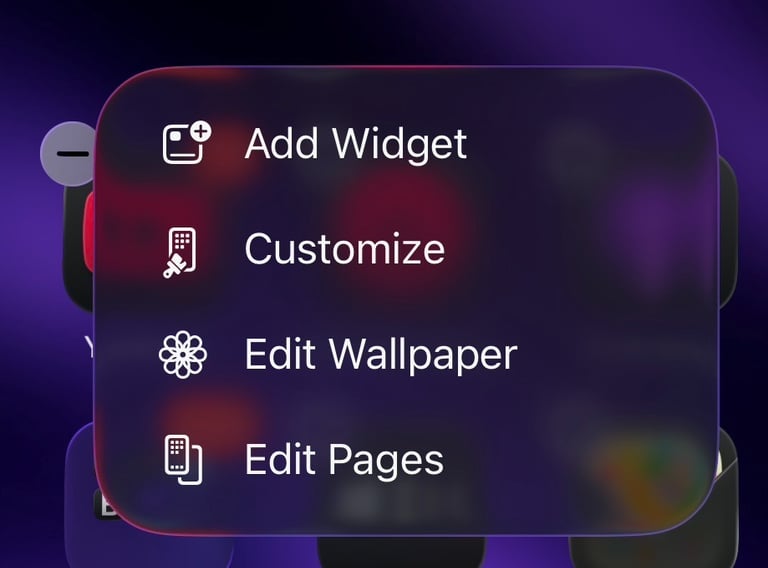
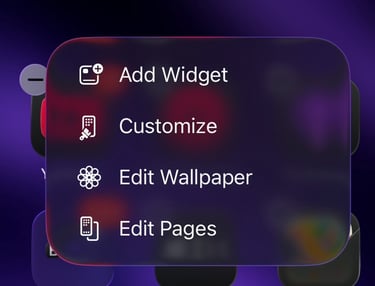
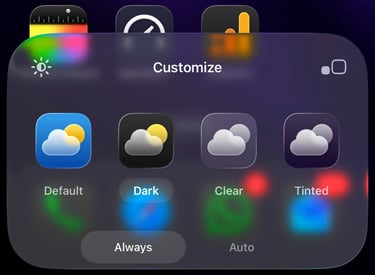
To enable it, long-press on an empty area of your Home Screen, tap Edit in the top left, and then choose Customize. From there, you can switch between Default, Dark, Clear, and Tinted. If you select Clear, all your app icons get a new Liquid Glass effect, giving your Home Screen a cleaner and more modern look.

If you choose the Tinted option, you can give all your icons a unified color tint. This feature was introduced in iOS 18, but iOS 26 adds a nice extra detail.
If you have an iPhone 17 Pro or Pro Max model with any color TechWoven Case, the icon colors now automatically match the color of your case when Tinted icons are enabled. It’s a small touch, but it makes your Home Screen feel more cohesive and personal.
5
iMessage Backgrounds
With iOS 26, you can now choose backgrounds in iMessage. This makes conversations feel more personal, and you can pick from built-in dynamic backgrounds or use your own photos.
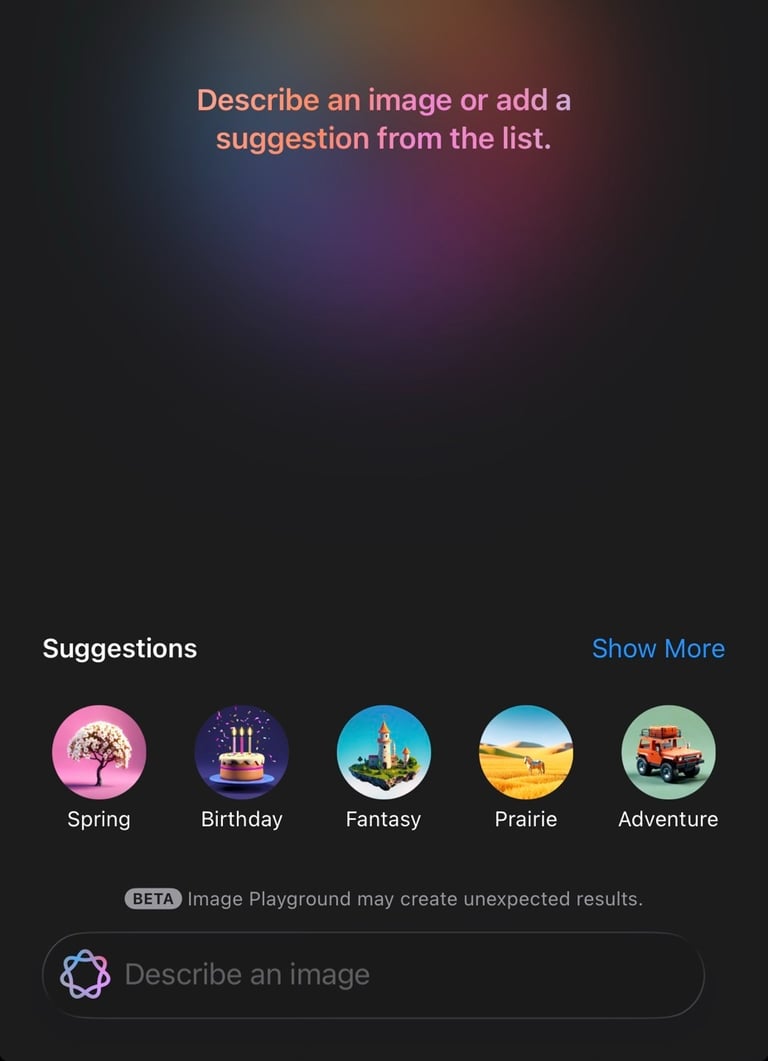
Pro tip: If you’re using an iPhone with Apple Intelligence (iPhone 15 Pro or later), you can even create custom backgrounds using Image Playground.
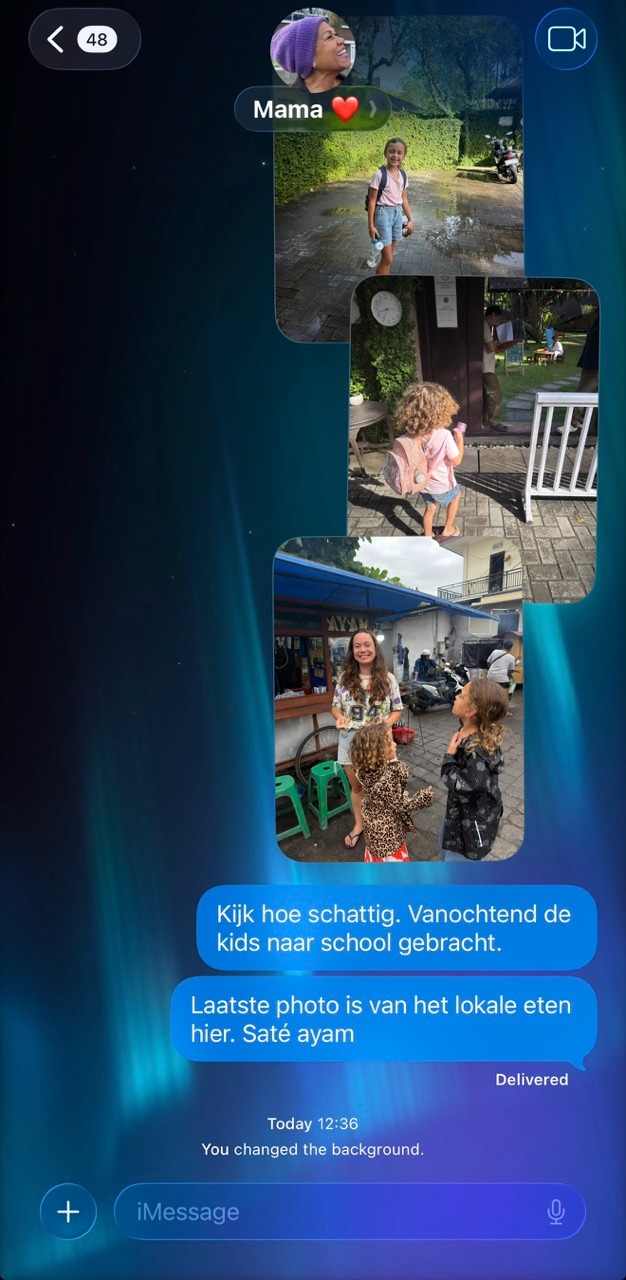

To enable this, open iMessage and go to a conversation. Tap the contact photo or name at the top, then select Backgrounds. From here, you can choose one of the built-in backgrounds.
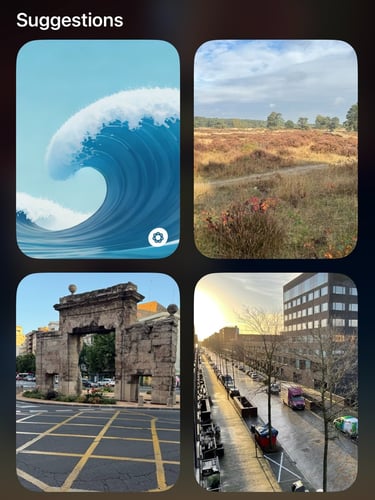
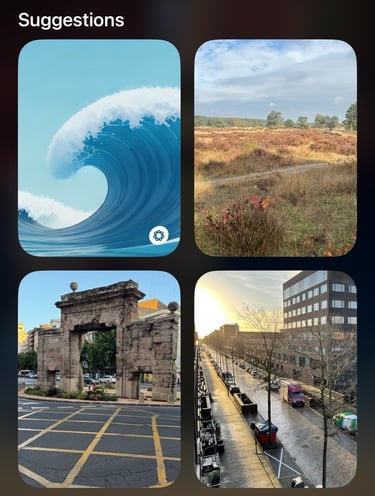
If you’re using an iPhone that supports Apple Intelligence, you’ll also see the Playground option to generate a custom image. To use your own photo instead, simply tap Photo and pick one from your Photo Library or select of of the Suggestions.

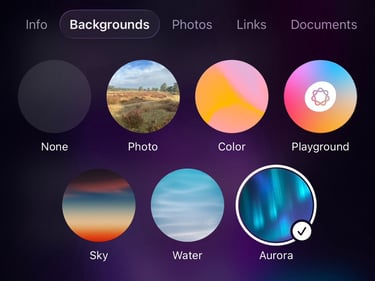

If you prefer no background, tap None under Backgrounds. iMessage will then stay black or white, depending on whether you’re using Dark Mode or Light Mode.
6
Screen Unknown Callers
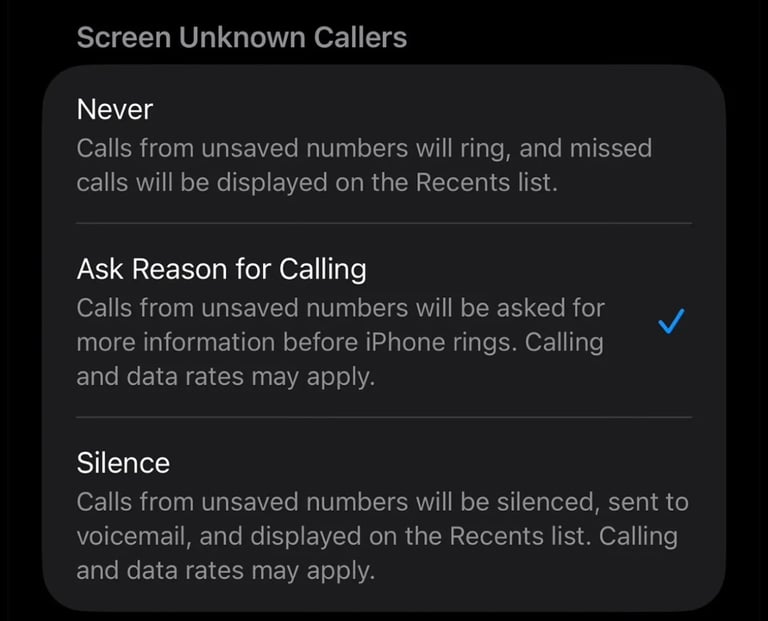
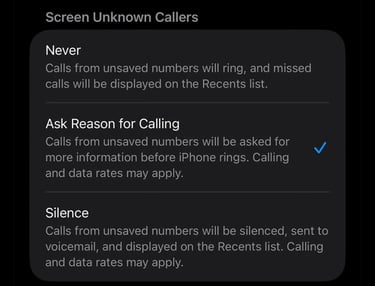
With Call Screening, iOS 26 helps you decide whether to answer calls from unknown numbers. Instead of picking up right away, your iPhone first asks the caller for their name and why they’re calling.That information is shown to you on screen, so you can choose to accept the call or ignore it. It’s an easy way to avoid unwanted or suspicious calls without missing important ones. You can turn on Call Screening by going to Settings → Apps → Phone. From there, you’ll also find a new option Screen Unknown Callers with 3 options. You can select Never, Ask Reason for Calling or Silence. Screen Unknown Callers is for now limited to certain regions.
7
Live Translation
Live Translation in iOS 26 is powered by Apple Intelligence and only works on iPhone 15 Pro or newer models. It translates conversations in real time, directly on your device, across Messages, FaceTime, and the Translate app.
You can also use Live Translation directly with AirPods. When wearing AirPods Pro 2 or newer, or AirPods 4, translations can be spoken out loud, and it will translated in real-time. You need to use the Translate app for this. I will talk about this later.
Live Translation in iMessage
To use Live Translation in iMessage, open the Messages app and go to a conversation. Tap the contact photo or name at the top, then open Info. From there, turn on Automatically Translate.
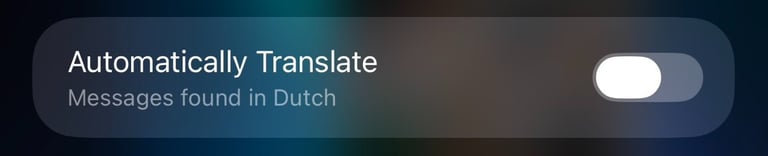
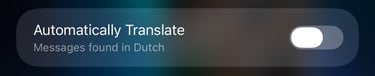
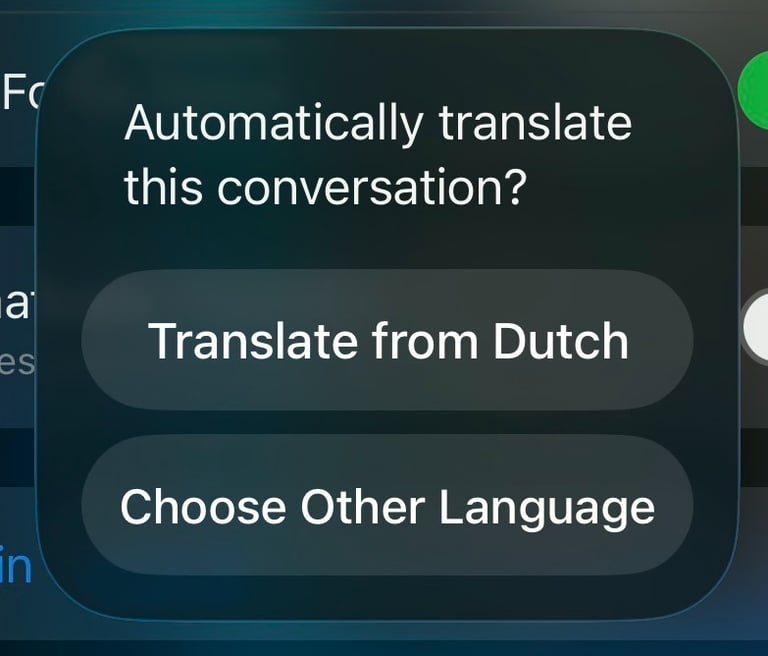
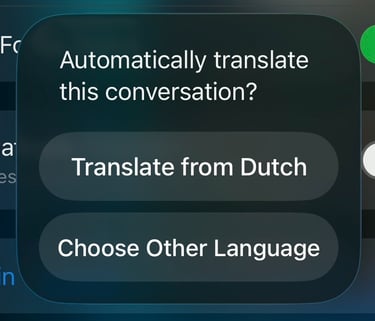
Once enabled, messages will be translated from your selected language, or you can choose a different language if needed. Your response is translated automatically into the other person’s language.
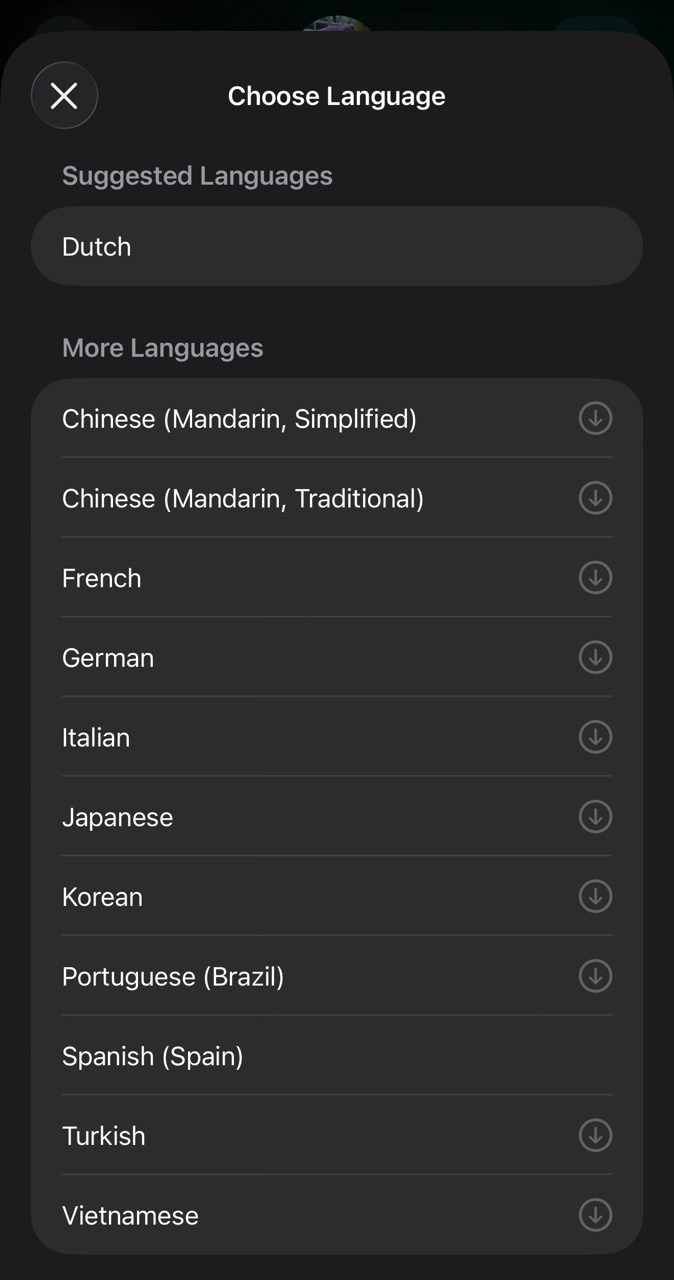
The following languages are supported with Live Translation:

Live Translation in FaceTime
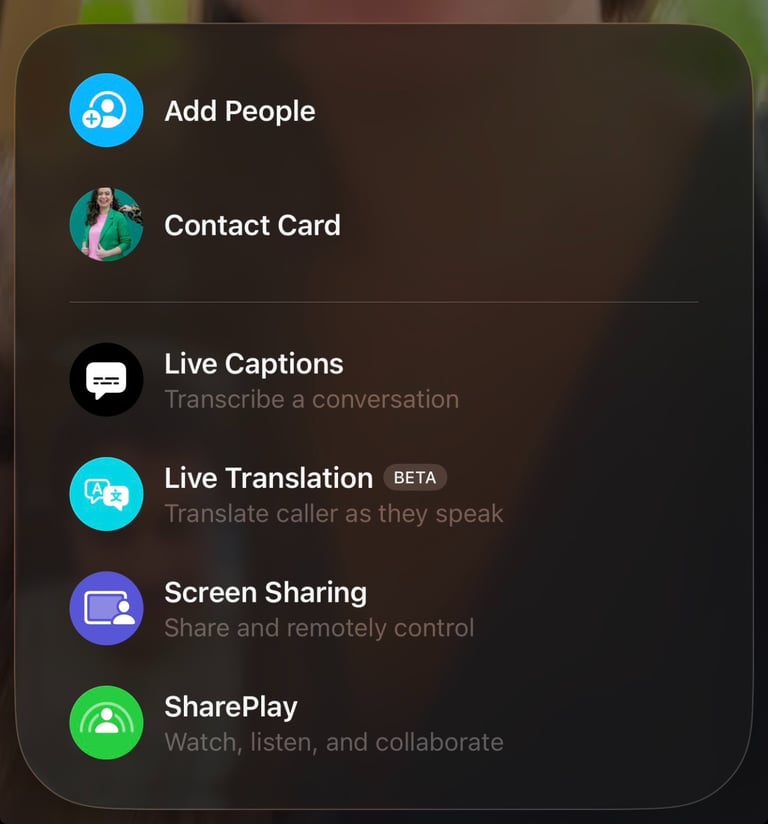
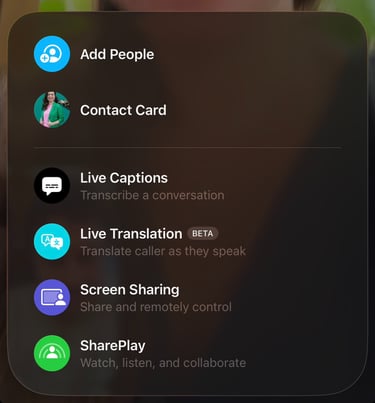
When you are in a FaceTime Call you can use Live Translation. During a video call, you can turn on Live Translation from the More (…) menu.
Once enabled, you’ll see translated captions of what the other person is saying, making it easier to follow conversations in different languages. If you are using AirPods you can use Live Translation for real-time conversation translations.
Live Translation on AirPods
Live Translation on AirPods works only when you’re using AirPods Pro 2 or newer, or AirPods 4, paired with an iPhone that supports Apple Intelligence, such as the iPhone 15 Pro or newer.
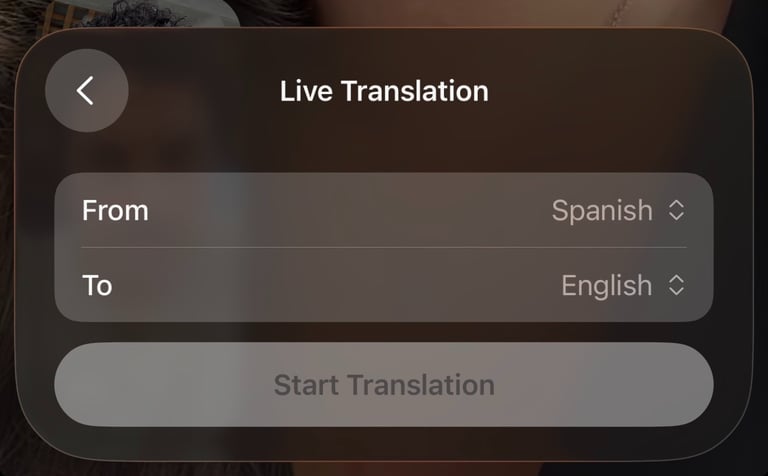
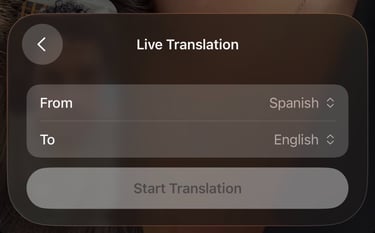
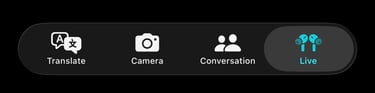
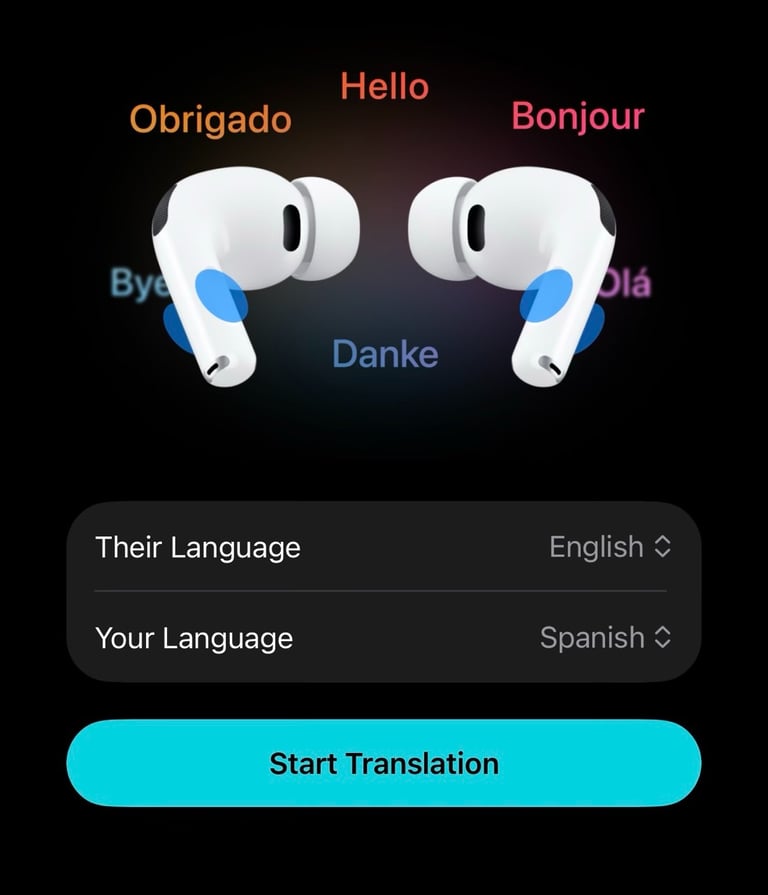
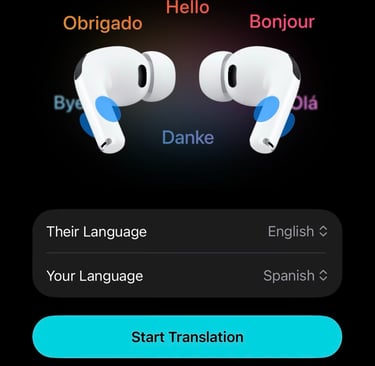
Connect your AirPods to your iPhone and open the Translate app. Tap Live in the bottom bar, then select Their Language and choose the language you want to translate from. Next, select your own language as the translation language and tap Start Translation. You can also ask Siri to start Translating by saying "He Siri, Start Live Translation". It will open automatically the Translate app.

If you travel often, work with international teams, or simply chat with your friends in different languages, this is a feature really worth trying.
8
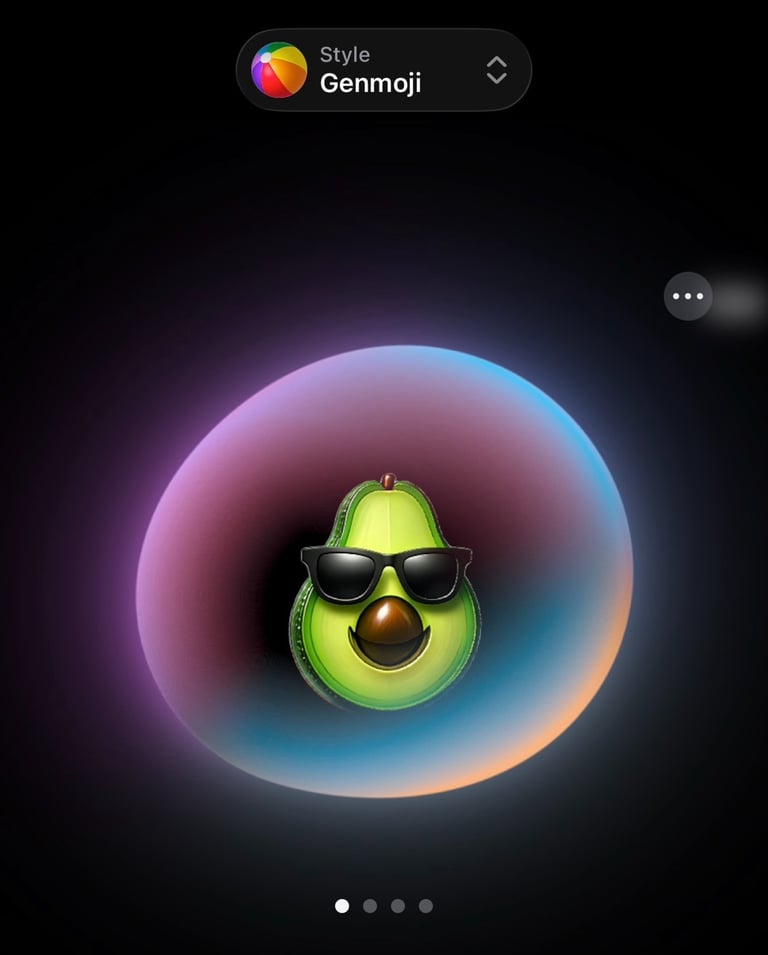
Genmoji
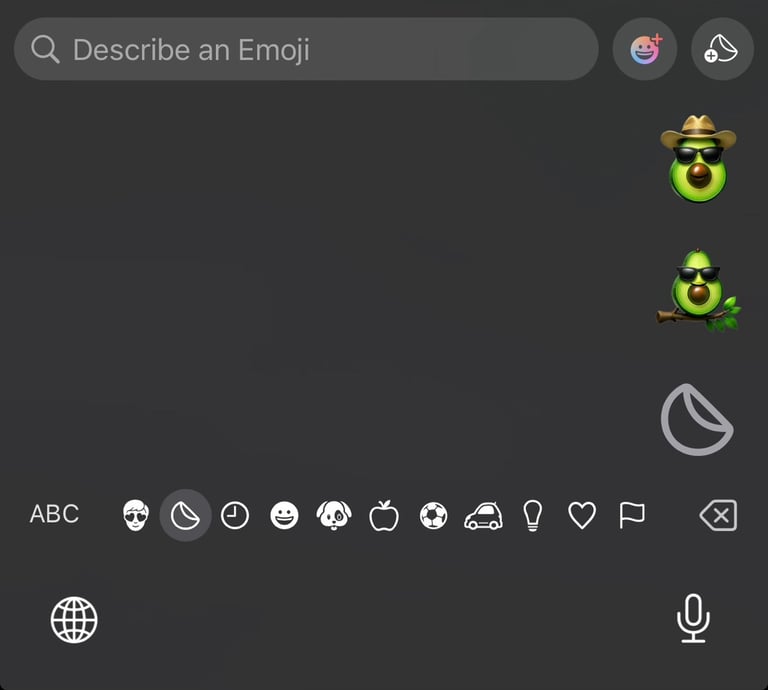
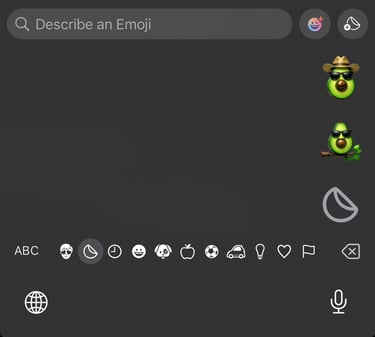
In iOS 26, Genmoji has been expanded and is easier to use than it was before. You can now describe emojis in more creative ways, mix existing emojis together, and create new Genmoji directly through Apple’s Image Playground. Genmoji only works on iPhones that support Apple Intelligence. Here is how it works
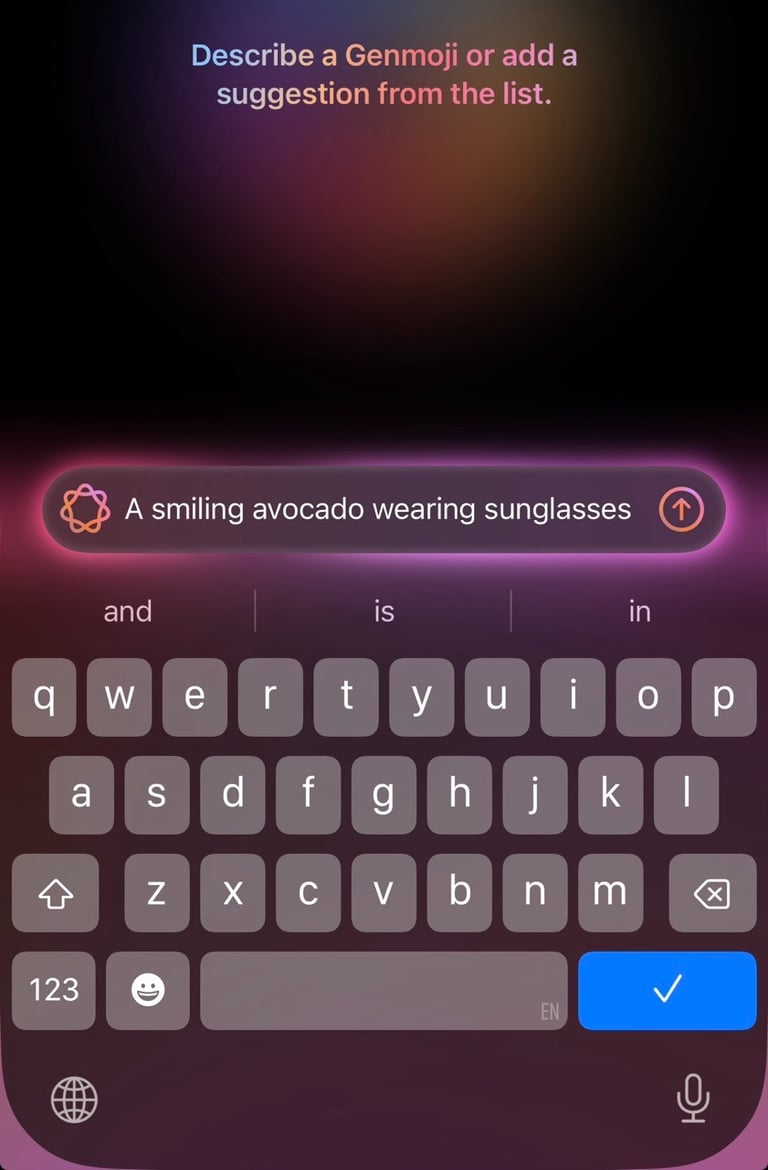
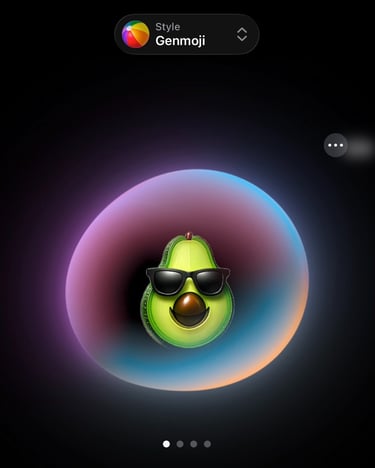
Open the Image Playground app and select Genmoji at the top. Describe the emoji you want to create, and Apple Intelligence will generate it for you.

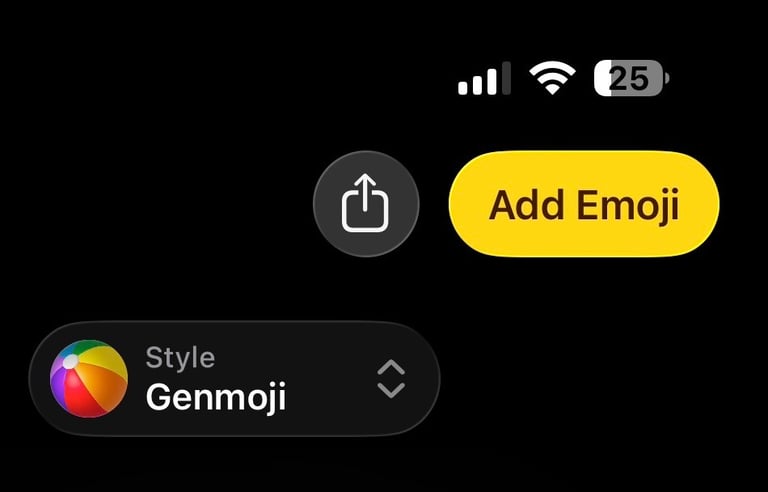
Once it’s ready, you can add the Genmoji to your keyboard and send it to your friends just like a regular emoji.
Genmoji in iOS 26 makes conversations feel more personal and expressive. Instead of searching for the “right” emoji, you can now create one that actually matches the moment. It’s a small feature, but once you start using it, it’s surprisingly fun and its really hard to stop ;-) I had a lot of fun with this feature.
When you open the keyboard and tap the Genmoji icon, you’ll see all the Genmoji you’ve created and can send them just like regular emojis. Even if the person you’re messaging doesn’t have an iPhone that supports Apple Intelligence, they’ll still be able to see your created Genmoji.
9
Alarm and Ringtones
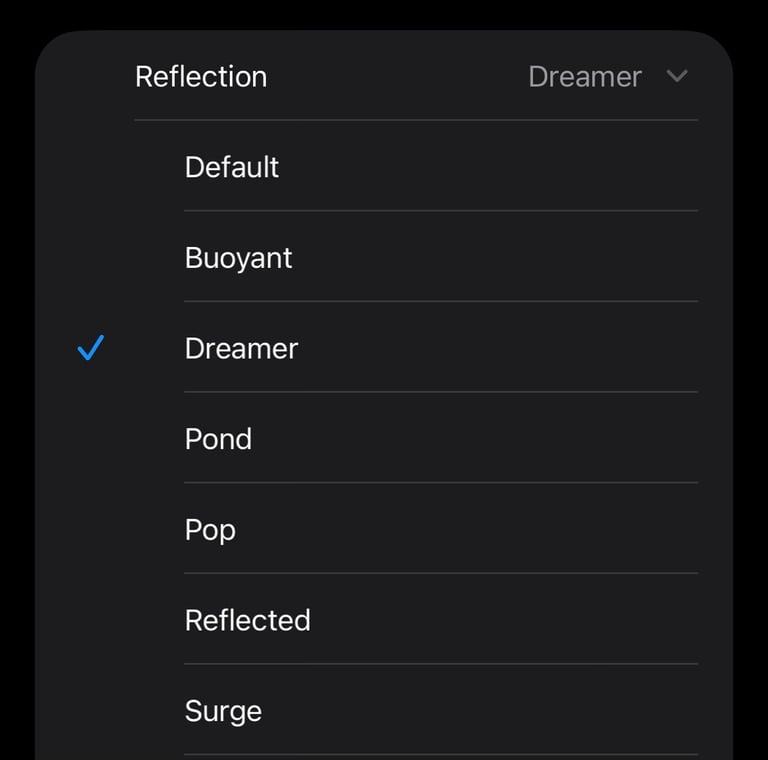
iOS 26 adds new variations of the familiar Reflections ringtone, which you can use for calls, messages, and alerts. To check them out, open Settings, go to Sounds & Haptics, tap Ringtone, and select Reflections to see the new options. I personally like the Dreamer ringtone. This is a remix of the good old default iPhone ringtone.

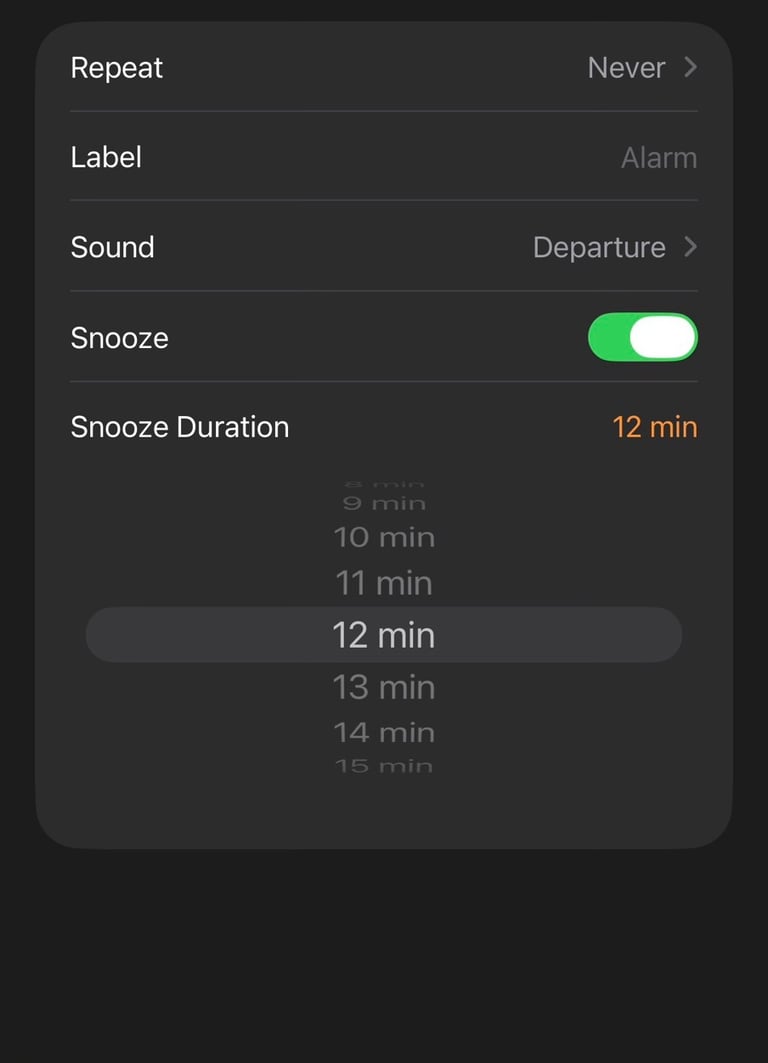
Another small but welcome change: you can now customize your alarm snooze time. Instead of being locked to Apple’s classic nine-minute snooze, you can choose a snooze duration anywhere between 1 and 15 minutes, depending on what works best for you. To set an alarm, open the Clock app, tap Alarms at the bottom, and then tap the plus (+) icon in the top right. From here, you can set your alarm time, choose the details, and adjust the snooze duration.

10
Camera Swipe from Lock Screen
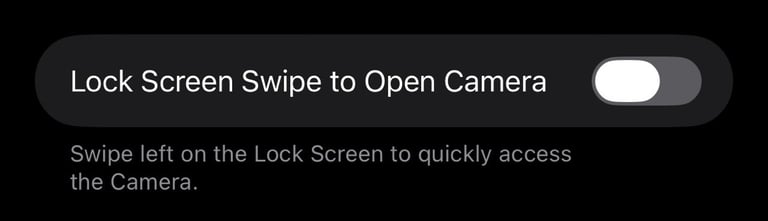
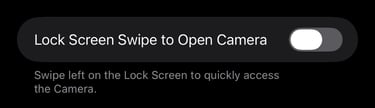
This is one of those small settings I genuinely love. It was introduced in iOS 26.1 and solves a surprisingly common problem: accidental “pocket photos.”By default, you can quickly open the Camera from the Lock Screen by swiping left. While that’s convenient, it often causes the camera to open unintentionally in a pocket or bag, which can drain your battery and even make your iPhone warm.
With iOS 26.1 and later, you can now disable this gesture. Just go to Settings → Camera and toggle off Lock Screen Swipe to Open Camera. This way, you’ll no longer end up with pocket photos or accidental videos recorded in your pocket. I love this feature and for me it really helps.
If this article helped you get more out of iOS 26, feel free to share it with someone who just updated or bookmark it so you can come back to it later. These new iOS 26 settings are easy to forget, but they really do make a difference in daily use.
I’ll keep testing new iOS updates and sharing the little things that Apple doesn’t always point out. And if you’ve discovered a setting or tip that worked well for you, I’d love to hear about it. Feel free to sent me message about it.
Amazing iPhone essentials and more