AirTag 2 Review: Unboxing, Improvements and My First Impressions
In this AirTag 2 review, I share my personal unboxing experience, the improved Precision Finding, louder speaker, and why Apple’s newest tracker is a great upgrade.
PRODUCT REVIEW
3/9/20267 min read
This weekend I was in Kuala Lumpur with my family. It’s a beautiful city, full of impressive skyscrapers and a vibrant energy that you feel the moment you arrive.
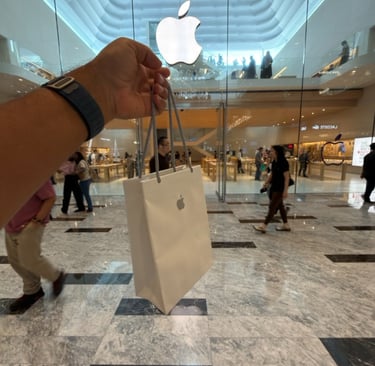
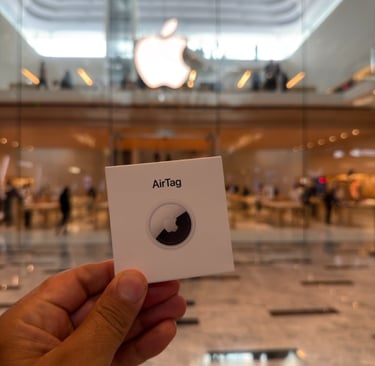
Kuala Lumpur is also home to the only Apple Store in Malaysia. Seeing it in person was a great experience. The store is large, spread across multiple floors, and designed in the clean, minimal style Apple is known for. Surrounded by towering buildings in the heart of the city, it truly feels like a flagship location.
If you’re visiting Kuala Lumpur and love Apple products like I do, it’s definitely a place worth stopping by.


I happened to be there just before Apple announced its newest lineup, including the MacBook Neo, the new MacBook Pro, MacBook Air, iPhone 17e, Studio Displays and iPad Air. The timing couldn’t have been better for someone who loves Apple products as much as I do. But this time, I wasn’t there for the new products.
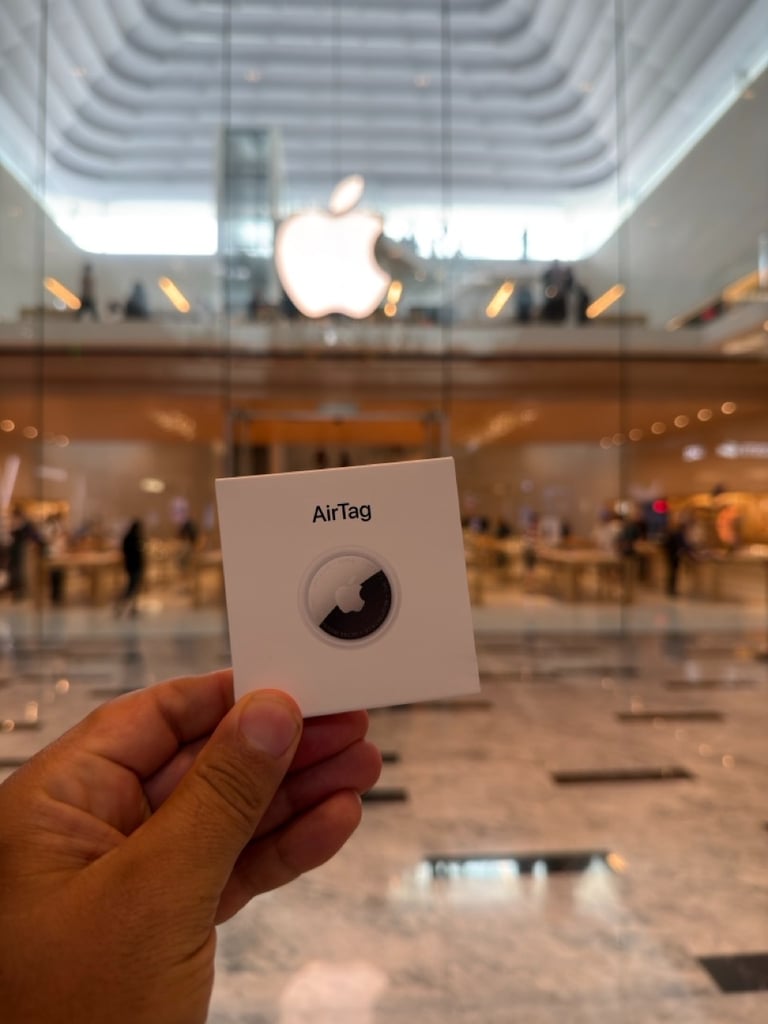
I had something smaller in mind: the new AirTag. It’s one of those little Apple products that I really was looking forward too to test out. In this article, I’ll unbox it, show how to set it up and share my first impressions after picking it up at the Apple Store in Kuala Lumpur.

Unboxing the New AirTag
I was genuinely looking forward to picking up the new AirTag. I had already read about the improvements. Especially the upgraded Precision Finding and the louder built-in speaker, So my curiosity was definitely there. Would it really be noticeably better in everyday use?
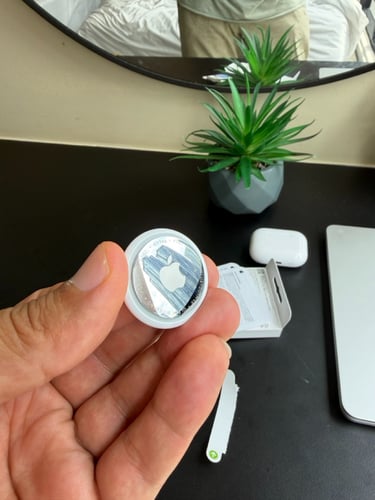
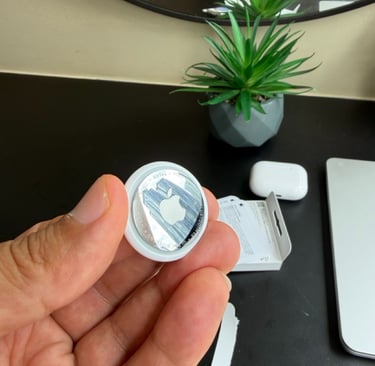
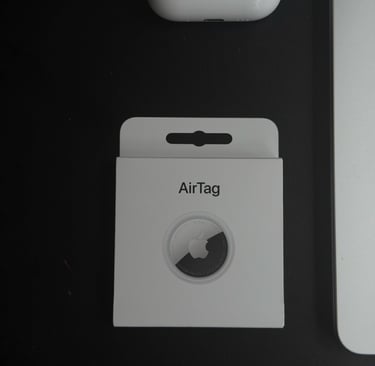
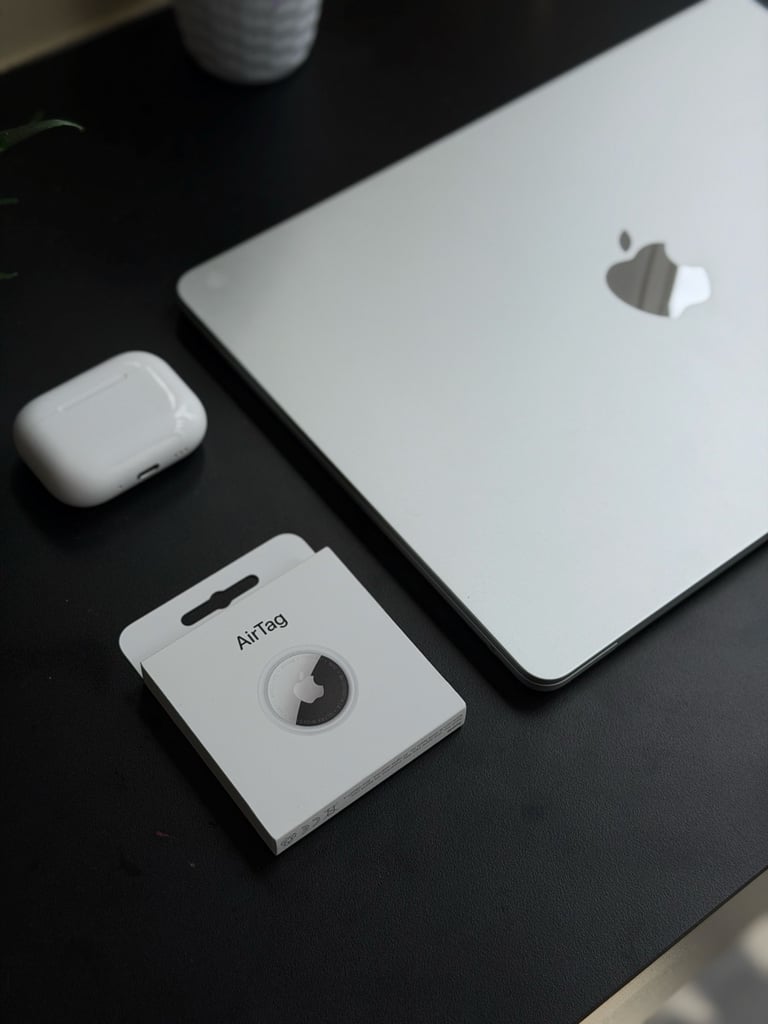
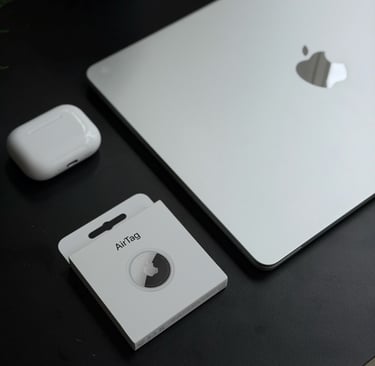
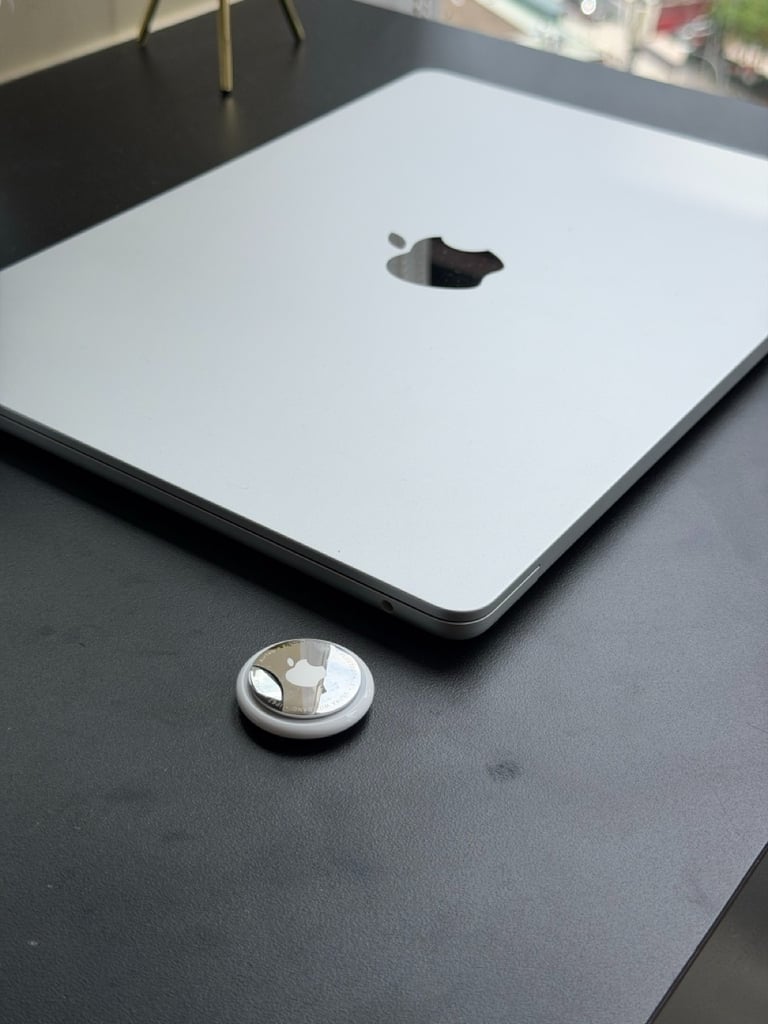
Back at the hotel, I couldn’t wait to open the box. Apple’s packaging is always premium, and the AirTag is no exception. Sliding it out of the box and holding it in your hand for the first time is a small moment, but one that still feels satisfying. Even with a small product like the AirTag. It’s compact, minimal, and unmistakably Apple. The moment you hold it in your hand, you already get the sense that this tiny device is designed to make your life much easier by helping you find your keys for exampe.
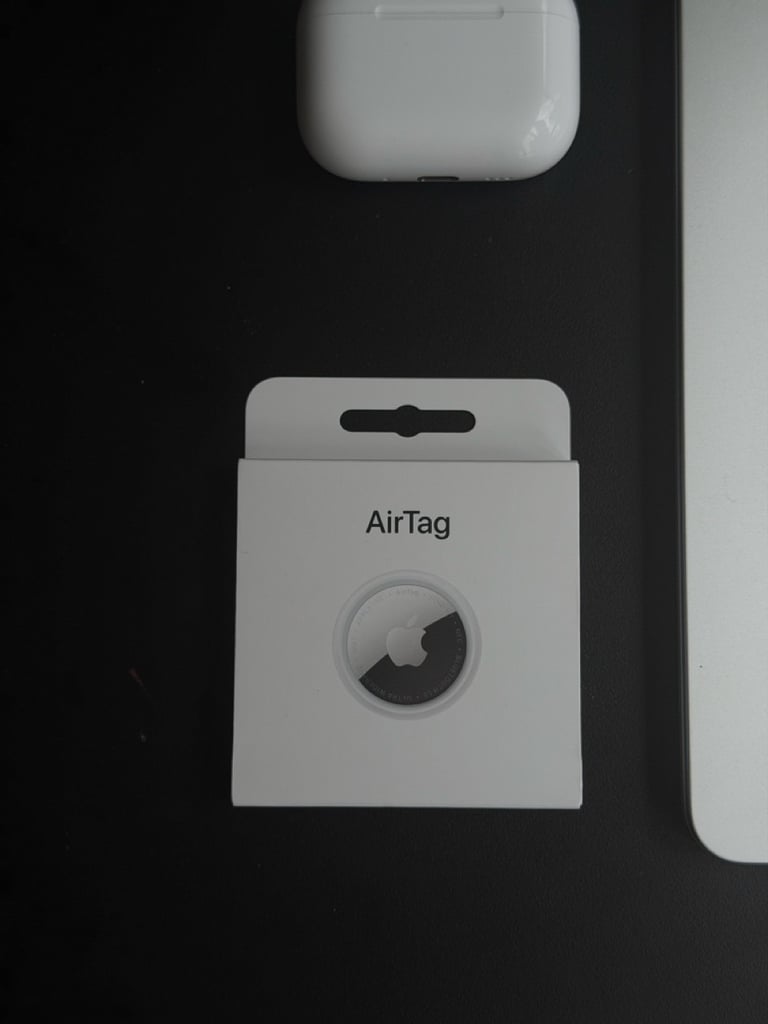
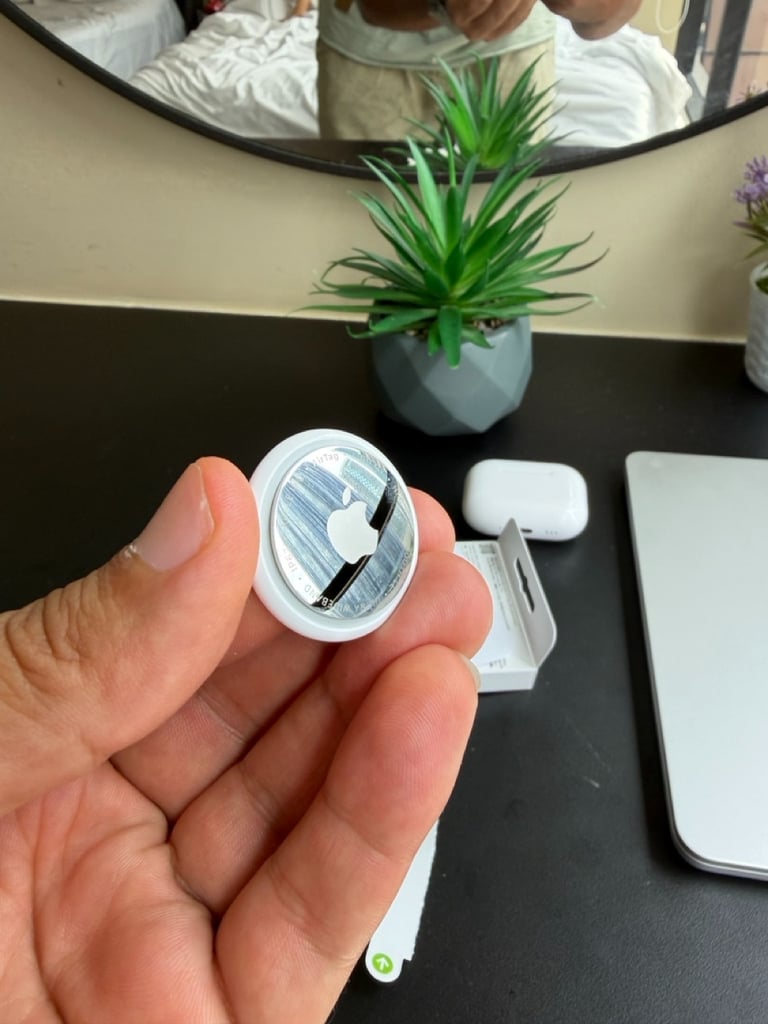
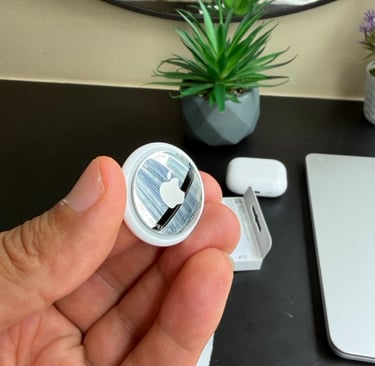
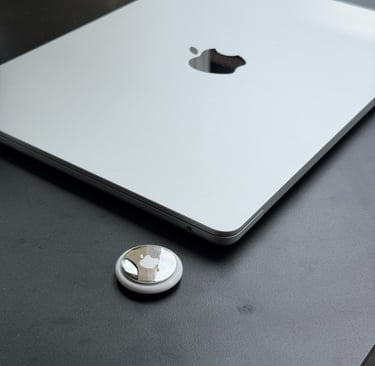
After opening the box, I took a few moments to really enjoy the unboxing. It’s something Apple consistently does so well. Everything is neatly placed, simple, and carefully designed. As I lifted the AirTag out of the packaging, I couldn’t help to smell on the package. The smell of new Apple products is so good ;-)
The new AirTag feels premium and well build. Everything inside the package is neatly organized and thoughtfully arranged. You’ll find all the essentials included, like the setup guide and warranty information, presented in the clean and simple way Apple is known for. Pro tip: The new AirTag runs on a CR2032 coin battery, which is already installed when you take it out of the box. Apple estimates the battery will last for about a year with normal use. When it eventually runs low, you can simply replace it with a new one.
Setting it up for the first time is really easy to do. Let's dive into that.
Setting up the AirTag
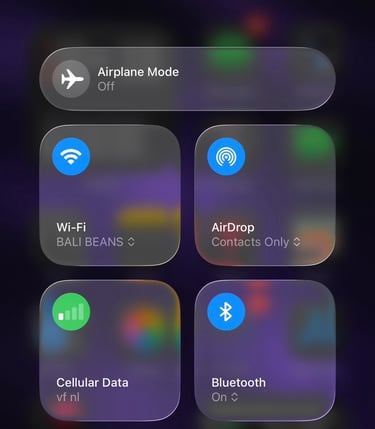
Like I mentioned earlier, setting up the AirTag is very simple. The first thing to check is whether Bluetooth is turned on on your iPhone. You can easily do this in the Control Center by swiping down from the top of your screen and making sure Bluetooth is enabled

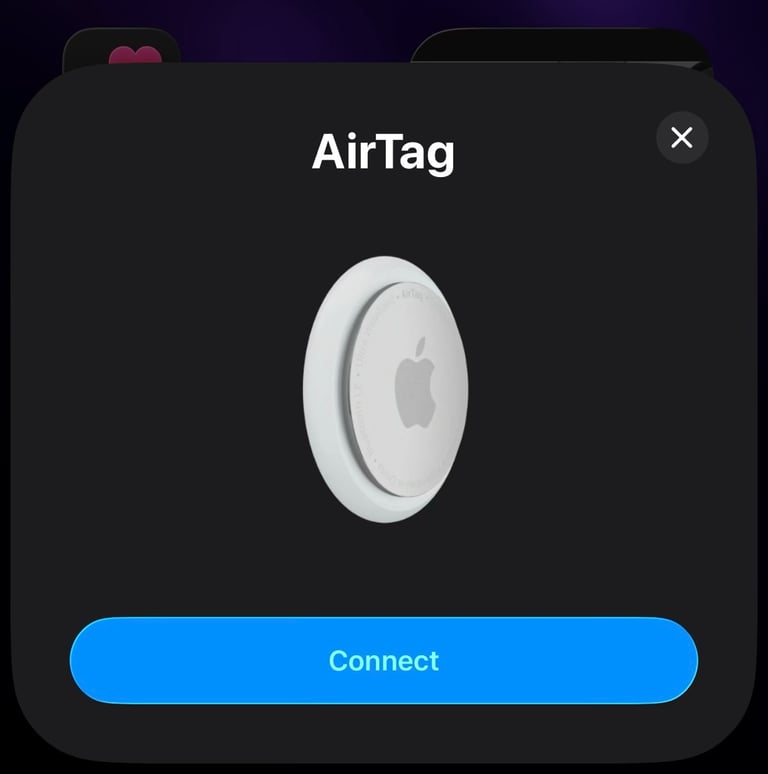
Once Bluetooth is turned on, the next step is just as simple. Pull out the small plastic tab from the AirTag until you hear a soft sound indicating it has powered on. When you hear that, bring the AirTag close to your iPhone. Within a moment, a familiar Apple-style setup screen will appear on your iPhone, guiding you through the rest of the process. Once your AirTag is connected, you can give it a name and choose where you want to use it. For example, you might attach it to your backpack, your bike, your keys, or anything else you’d like to keep track of.
Find My
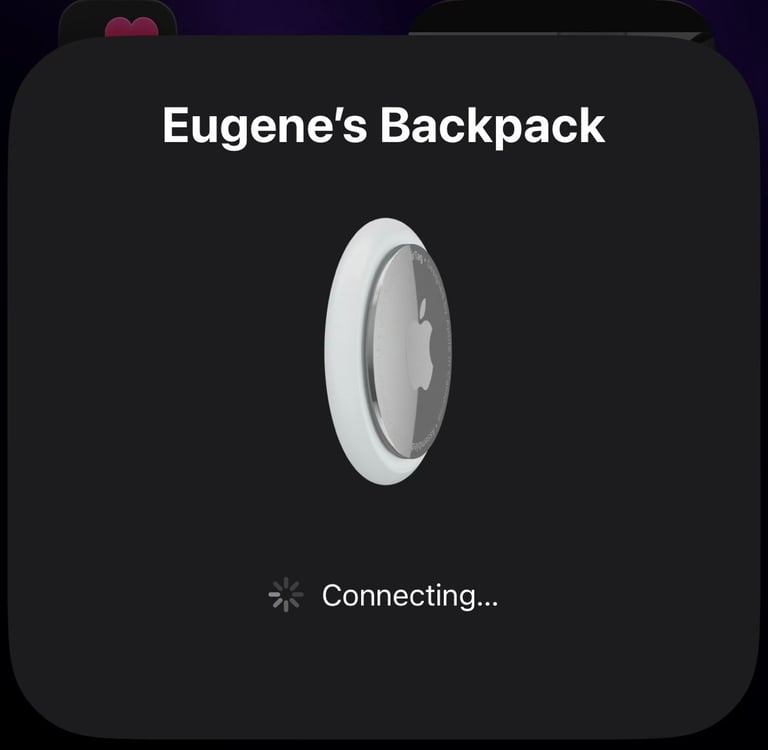
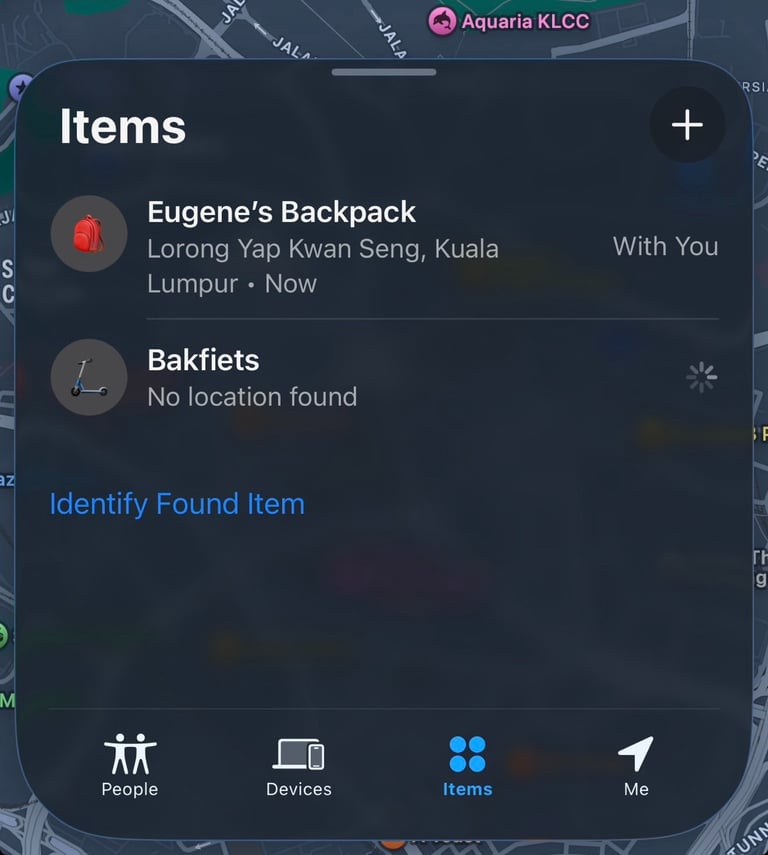
Here’s something important to know: to use your AirTag or locate a lost item, you’ll use the Find My app.
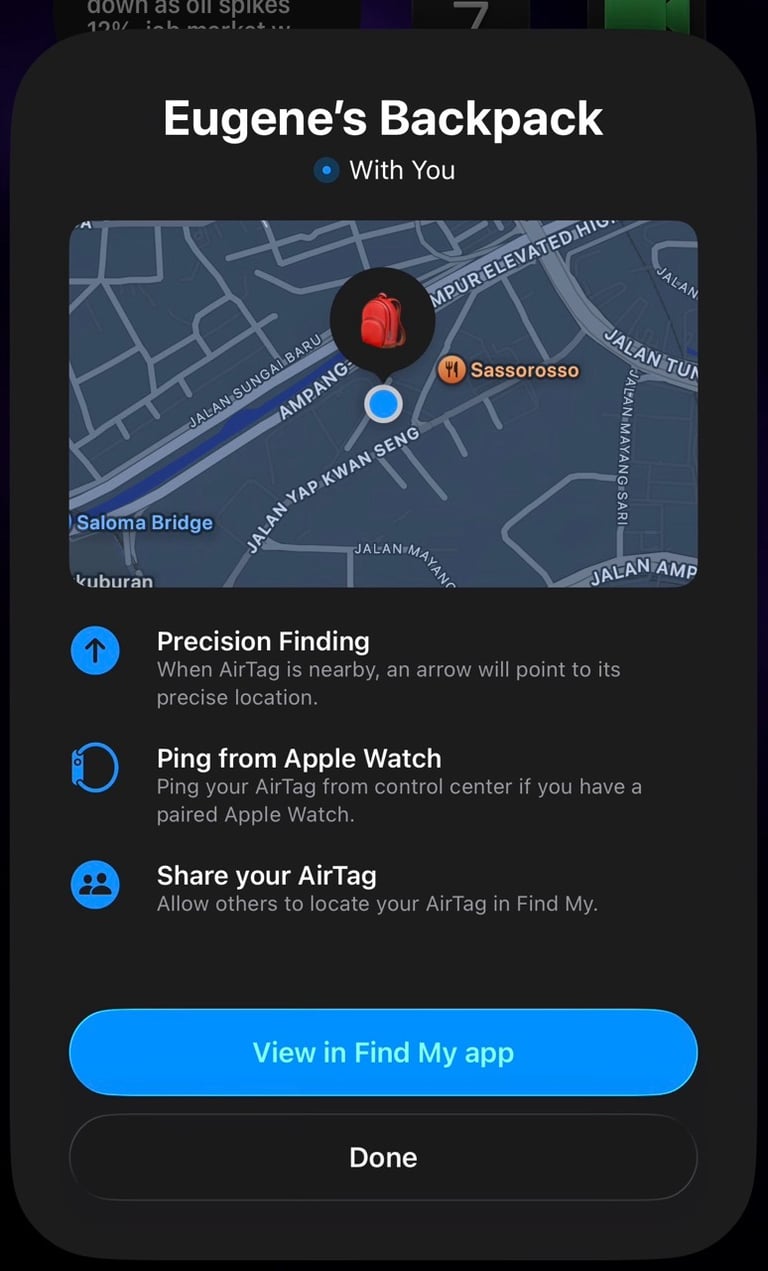
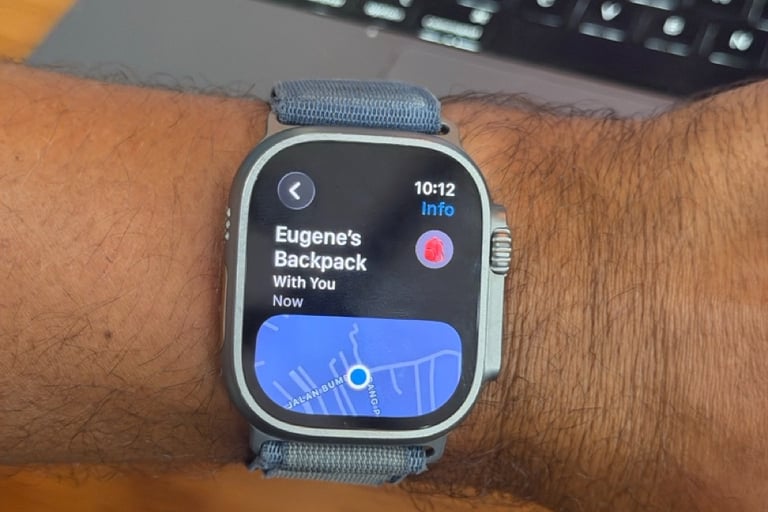
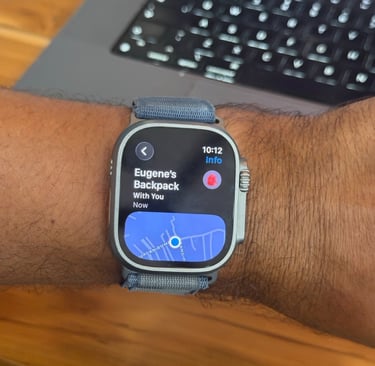
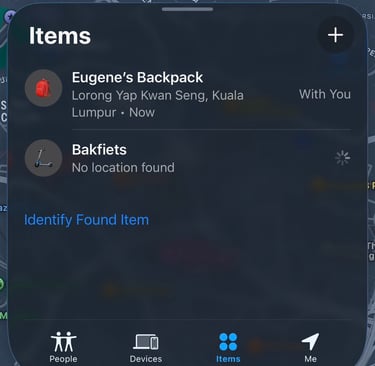
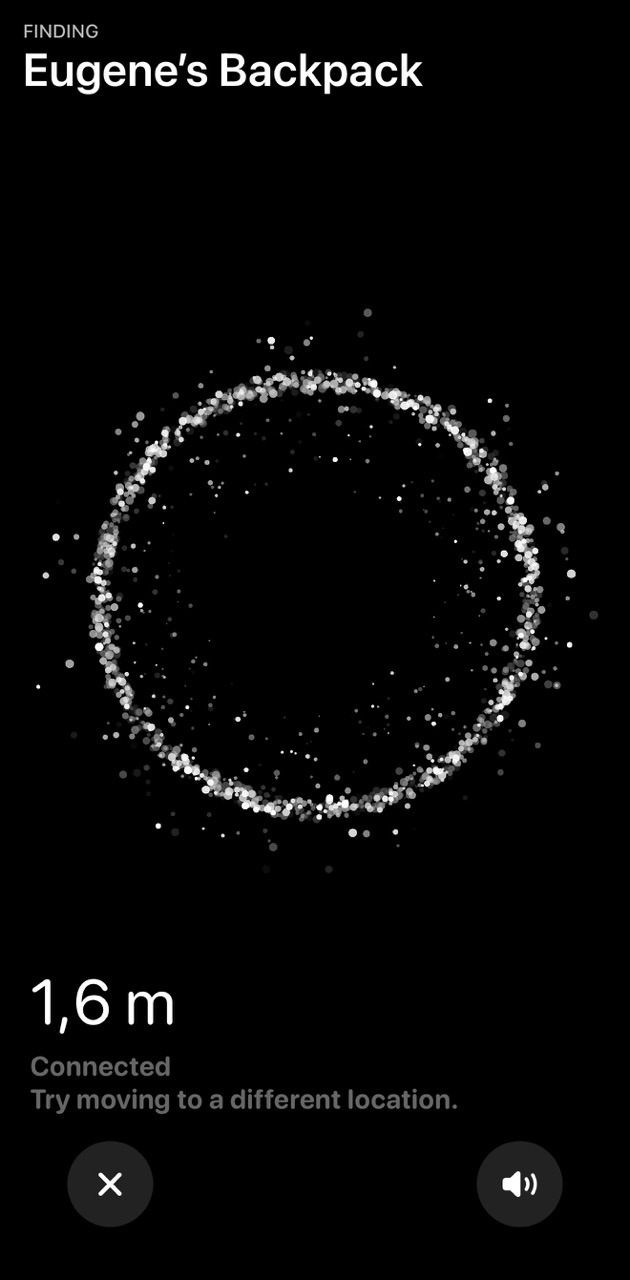
This is the same app where you can see all your Apple devices. Inside the app, you’ll find a section called Items, where your AirTag appears. If you have multiple AirTags, they will all show up there, making it easy to keep track of everything in one place. When you tap on Items in the Find My app, you can see exactly where your AirTag is located. From there, you have a few helpful options. You can play a sound to help you find it nearby, share the AirTag with someone else, or tap Find to use Precision Finding and guide you directly to it.
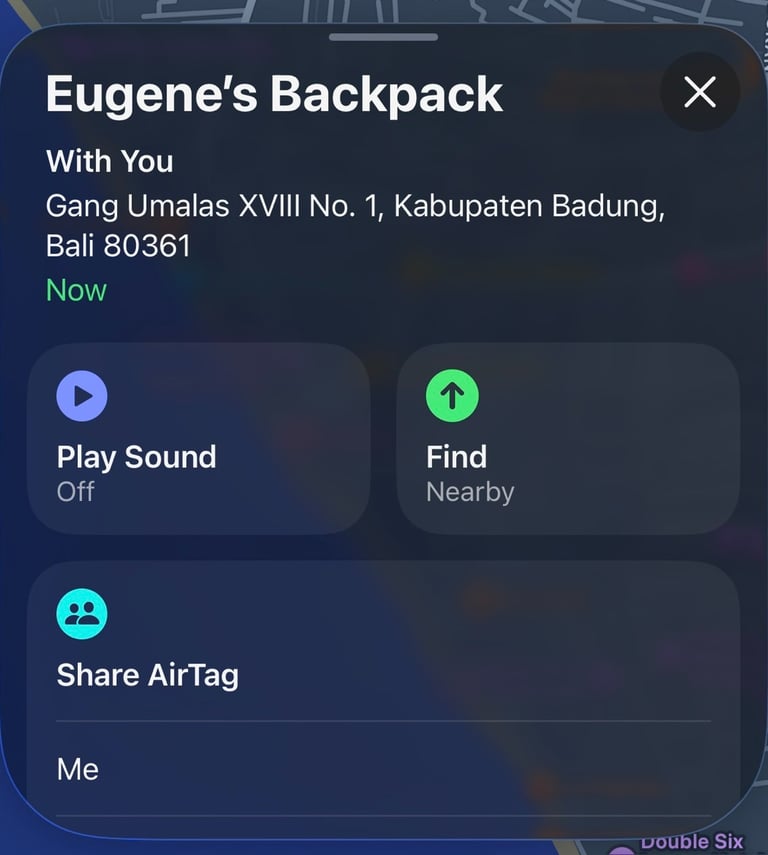
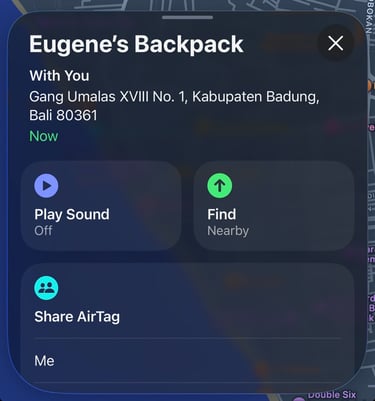
When you tap Find, your iPhone helps guide you straight to your AirTag. It will show you exactly how far away you are and point you in the right direction, making it surprisingly easy to track down your lost item.


Improvements on the new AirTag
One of the biggest improvements on the New AirTag is Precision Finding. Apple has made it significantly better, with up to 50% improved range and accuracy compared to the original AirTag. In practice, this means your iPhone can guide you to your lost item from a greater distance and with more precise directions. If you’ve ever searched for your keys in the couch or somewhere in your house, you’ll appreciate how quickly it now points you exactly where to go. But the fact that you have a wider range and accuracy is a welcome. To take full advantage of the improved range and accuracy of Precision Finding, you’ll need an iPhone 15 or newer. One exception is the iPhone 16e, which does not support this feature. If you use an older iPhone, you can still use the AirTag 2, but it will work on the original precision finding with the shorter range.
Here is the full list op supported iPhones:
iPhone 17
iPhone 17e
iPhone 17 Pro and Pro Max
iPhone Air
iPhone 16
iPhone 16 Plus
iPhone 16 Pro and Pro Max
iPhone 15
iPhone 15 Plus
iPhone 15 Pro and Pro Max
Another noticeable improvement is the louder built-in speaker. When you play a sound from the Find My app, the new AirTag is easier to hear, which makes finding something in a bag, under furniture, or between cushions much quicker. It’s a small upgrade on paper, but in real life it can save you a lot of time.
What also is improved is the updated Ultra Wideband chip. Apple has included a newer generation of this technology, which works together with compatible iPhones to make Precision Finding even more accurate and responsive.Because of this newer Ultra Wideband chip, the AirTag can guide you to your item from a greater distance and with better accuracy than the previous generation. In everyday use, that means your iPhone can detect the AirTag earlier and guide you more precisely with on-screen directions, distance indicators, and haptic feedback.


My Thoughts
Overall, I think the new AirTag is a very nice upgrade from the original version. Apple didn’t change the idea and the form of the product, but they improved 3 big things that really matter to me: It has better Precision Finding, a louder speaker, and the newer Ultra Wideband technology.
Personally, I’m really happy with this upgrade. It still has the same simple and elegant design, but with improvements that make it even more useful when you actually need it. If you already liked the first AirTag, the new version feels like a thoughtful step forward. In my opinion, the new AirTag is a great upgrade and absolutely worth it if you want a reliable way to keep track of your belongings.

Some links are affiliate links. If you use them, I may earn a small commission at no extra cost to you.
Apple Watch Support
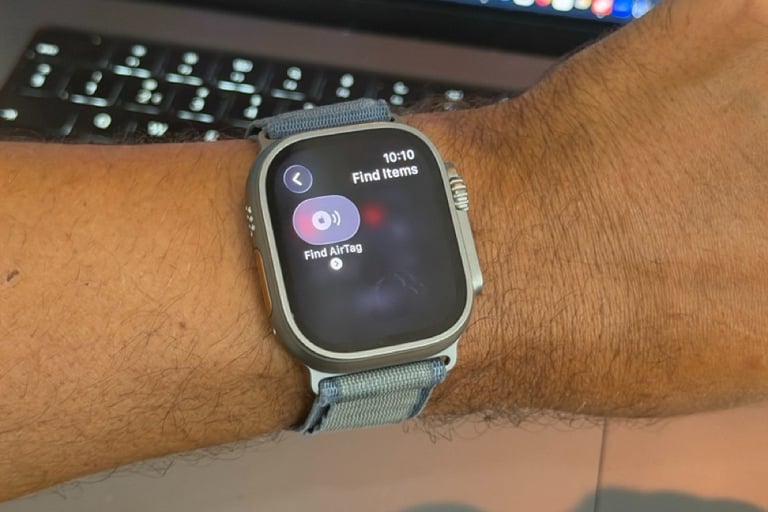
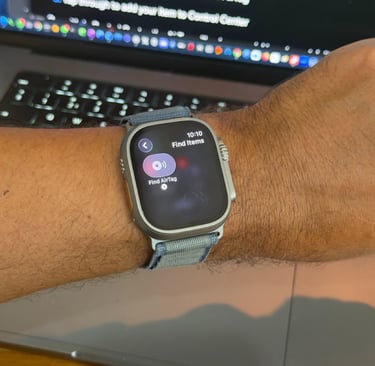
The new AirTag now offers expanded support for the Apple Watch. This means you can locate your AirTag using the new Precision Finding feature directly from your Apple Watch. Here’s what you need to do:
On your Apple Watch, press the side button to open Control Center
Scroll all the way down and tap Edit
Tap the Add (+) button in the top-left corner
Scroll down until you see Find Items, then select Find AirTag
Tap through the options to add it to your Control Center
Once your AirTag is added to the Control Center, you can simply click on the AirTag icon to find your AirTag.
Just keep in mind that this feature is limited to AirTag 2 and works with the Apple Watch Series 9 or later and Apple Watch Ultra 2 or later. To use it, your Apple Watch also needs to be updated to watchOS 26.2.1 or later. Also keep in mind that the new improved Precision Finding feature may be limited or unavailable in certain countries depending on regional support.